Roof sheathing thickness is a fundamental decision that sets the stage for a sturdy, long-lasting roof structure. This material, often made of plywood or oriented strand board (OSB), forms the base layer beneath roofing materials, offering support and essential protection from the elements.
Building codes typically require sheathing to meet minimum structural standards. For instance, many regulations call for at least ⅝ inch panels when rafters are spaced 24 inches apart.
This is to help prevent sagging while ensuring proper nail retention and distribution of loads across the roof surface. At the same time, slightly thicker sheathing may be advisable in areas with heavy snow or strong winds, or when installing heavier roof coverings.
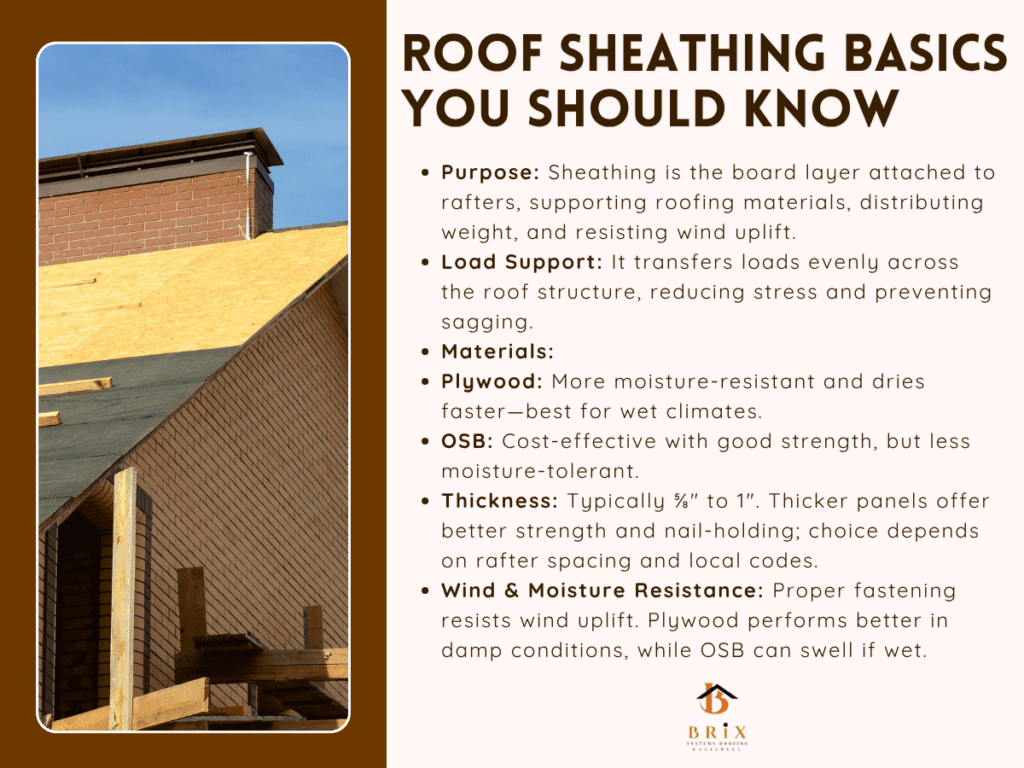
Roof sheathing refers to the board layer fastened directly to roof rafters or trusses, serving as the foundation for shingles, metal panels, or other roofing materials. Its primary purpose is to distribute weight evenly, provide rigidity to prevent sagging, and create a stable surface for nailing roof coverings.
This support layer also acts as a barrier against wind uplift, helping to secure your roof in harsh weather.
Roof sheathing plays a key role in transferring loads from roofing materials and environmental forces to the roof framing. By spreading out weight across multiple rafters, it helps prevent excessive stress on any single component.
Sheathing thickness typically ranges from ⅝ inch to 1 inch, depending on structural needs, local building codes and the type of roof covering chosen.
Commonly used panels include plywood and oriented strand board (OSB). Both types offer similar structural strength, though they vary in moisture resistance and cost.
This panel resists moisture better and dries more quickly after exposure than OSB, reducing the chance of mold or degradation. Those characteristics make it a preferred choice in wetter climates or for homes that may face occasional roof exposure.
Manufactured from wood strands and resin, OSB offers competitive structural performance at a lower cost. While it may swell if prolonged contact with moisture occurs, improved exposure-rated panels are available.
Thicker panels reduce deflection and improve nail-holding strength, both of which increase the lifespan of roofing materials. When rafters sit closer together, thinner panels may suffice; with wider spans, thicker panels serve better.
Inquire with local authorities to confirm which span tables apply to your project, as they often include thickness and spacing recommendations.
Wind uplift places upward pressure on your roof, which can force shingles and panels away from their framework. A properly fastened sheathing layer resists this uplift by securing roofing materials to the rafters.
Installation specifications, such as nail spacing and panel orientation, play a part in how well this layer functions. Refer to manufacturer guidelines or regional codes to identify precise fastening and alignment practices.
Plywood’s ability to shed water and dry swiftly makes it advantageous in areas with frequent rain or snowfall. OSB, while more budget-friendly, may experience OSB-edge swelling if water intrusion occurs.
To reduce this risk, some builders choose exposure-rated panels that offer better moisture resilience. For projects in wet environments, selecting materials with this rating can boost long-term performance.
Building codes establish the minimum standards for roof sheathing thickness to safeguard structural safety and occupant protection. These regulations consider factors like rafter spacing, roof pitch, and expected loads such as snow or wind.
Adherence ensures a durable foundation under roofing materials and helps prevent issues like sagging, fastener failure, or weather-related damage. Different regions may have slightly varying mandates, but they generally align with nationally recognized guidelines.
Codes typically require sheathing at least ⅝ inch thick when rafters are spaced 24 inches on center. If spacing decreases to 16 inches, ½ inch panels may be acceptable, assuming the load and roof covering are standard.
| Rafter Spacing | Standard Load (Asphalt Shingles, Moderate Wind) | Heavy Load (Tile, Snow, High Wind) |
|---|---|---|
| 16 inches O.C. | ½ inch plywood or OSB | ⅝ inch or ¾ inch plywood recommended |
| 19.2 inches O.C. | ⅝ inch minimum | ¾ inch plywood or OSB recommended |
| 24 inches O.C. | ⅝ inch minimum (code standard) | ¾ inch or 1 inch for enhanced support |
These requirements stem from span tables included in model codes, which help builders determine adequate thickness based on rafter span and live or dead loads.
In areas that experience heavy snowfall or strong winds, building departments often require thicker panels to manage those extra forces. For example, regions with frequent snow accumulation, including many mountainous zones, might mandate ¾ inch or thicker sheathing.
This increased thickness enhances load distribution and fastening strength, reducing the risk of deflection or roof damage.
Roof pitch affects how load is transferred through the roofing system. Steeper pitches can tolerate slightly thinner panels, while low-slope roofs typically require full-thickness sheathing to avoid sagging under weight.
Additionally, some jurisdictions add safety factors beyond standard tables, so checking the local building department’s guidelines, often available online, is important.
While sheathing carries primary structural loads, building codes also specify requirements for underlayments, fastener size and spacing, and how far sheathing should extend over rafter edges. These ensure that the support layer integrates properly with flashing, weather barriers, and roof covering.
For instance, some codes require sheathing to overlap beyond sheathing joints by a specific margin to maintain continuity and support.
Choosing between ⅝ inch, ¾ inch, and 1 inch sheathing involves balancing strength, cost, and performance. Thicker panels enhance rigidity, reduce deflection, and improve fastener retention, though they come at higher material and labor costs.
| Thickness | Best For | Benefits | Drawbacks |
|---|---|---|---|
| ½ inch | Tight rafter spacing (16" O.C.), light roofs | Lightweight, lower cost | Not ideal for wide spans or heavy loads |
| ⅝ inch | Standard residential use, 24" rafter spacing | Meets most codes, good balance of cost and strength | Less ideal in heavy snow zones |
| ¾ inch | Snow-prone or high-wind areas, tile roofing | Greater stiffness, strong nail retention | Higher material and labor cost |
| 1 inch | Storage roofs, long spans, commercial use | Maximum rigidity and durability | Expensive, often unnecessary for typical homes |
In many residential projects, ⅝ inch sheathing provides solid support at a moderate cost.
This thickness suits rafters spaced 24 inches apart under common roofing materials. It offers reliable performance and cost-efficiency, particularly in homes with standard loads.
The performance differences between plywood and OSB at this thickness are notable, especially when moisture resistance and edge stability come into play. OSB holds up well structurally, while plywood provides better moisture durability and reduced swelling.
Stepping up to ¾ inch increases stiffness and fastener retention. It’s often used in roofing systems that carry additional weight, such as tile or slate.
The added thickness also serves homes located in regions with high wind exposure or heavy snow loads. These benefits are explained further in guides that cover roof reinforcement needs.
Though rare in standard residential roofs, 1 inch sheathing is beneficial where high loads and extra durability are priorities. It works well for attic floors that double as storage, or roofing systems designed to bear long spans.
This thickness minimizes sag and supports consistent structural integrity, as covered in recommendations on advanced sheathing requirements.
Careful installation of roof sheathing ensures optimal performance and longevity. Proper panel alignment, fastening patterns, and joint handling enhance structural stability and prevent common issues.
Attention to detail during this phase sets the stage for a durable roofing system.
Aligning panels properly reduces shear stress and creates a level base. Sheathing should be installed with edges meeting at rafter centers, and seams staggered between adjacent rows.
This practice avoids creating continuous weak lines and improves load sharing. For best techniques on panel layout and staggering, refer to this installation overview.
Using the correct nails and spacing is critical. You should place fasteners at least eight inches apart along panel edges and twelve inches apart in the field, with longer nails penetrating framing by at least one inch.
Ring-shank or screw-type fasteners improve grip, especially in high wind zones. A detailed fastener guide explains these spacing standards and nail performance.
Wood panels expand and contract with moisture changes, requiring a small gap, typically 1/8 inch, at panel edges to prevent buckling. This spacing accommodates seasonal movement without sacrificing surface flatness.
Experts recommend maintaining this gap along all edges abutting other panels or framing, ensuring long-term integrity.
Proper flashing around penetrations such as vents, chimneys, or skylights protects against leaks. After installing sheathing, underlayment and flashing membranes must extend up and over protrusions to direct water away.
Following best practices for step-flashing and underlayment overlap reduces the risk of water infiltration, as covered in this flashing technique guide.
Sheathing overhang beyond roof edges should match rafter overhang and support fascia boards. Cutting panels to size requires clean, straight edges to ensure tight seams.
A guide on overhang installation outlines how to measure and trim panels for consistent and secure coverage.
Identifying when roof sheathing requires upgrading is essential to maintaining a safe and stable roof structure. Warning signs that sheathing may be undersized or weakened include visible sagging, moisture damage, and compromised fastening.
| Issue Observed | Likely Cause | Recommended Action |
|---|---|---|
| Sagging between rafters | Sheathing too thin for spacing | Upgrade to ¾ inch or reduce spacing |
| Roofing nails loosening or lifting | Poor fastener retention | Use thicker panels or better fasteners |
| Water stains or soft decking | Moisture damage, poor material performance | Use moisture-resistant or thicker panels |
| Warping or delamination of panels | Inadequate thickness or low-quality sheathing | Switch to plywood or thicker OSB panels |
Early detection often comes from observing changes in roof performance or interior symptoms, such as uneven surfaces or leaks. When several indicators align, investing in thicker sheathing can restore roofing integrity and avoid costly repairs later.
A sagging roof is a clear sign that sheathing may not have sufficient stiffness or thickness to span between rafters. This issue is particularly common when rafters are spaced widely, but it can also occur due to long-term load stress or moisture-induced weakening.
Water-stained sheathing, mold spots, or soft areas underfoot suggest that moisture has penetrated the roof deck. This condition can reduce panel strength and fastening capacity, warranting a switch to thicker, more moisture-resistant sheathing.
Warped or cracked panels compromise the even surface essential for shingles or roofing materials. These deformities often result from inadequate thickness or prolonged exposure to environmental stress.
Roofers frequently point to panel deformation as a key sign to upgrade thickness for improved durability.
If roofing nails or screws start backing out or loosen under mild wind, it likely means the sheathing lacks sufficient thickness or structural integrity. Thicker panels offer deeper nail penetration and sustain fastening strength longer.
A well-maintained roofing structure relies on more than just correct sheathing thickness; it also depends on timely detection and repair of any leaks. Integrating tips for finding a roof leak quickly can build on the foundation provided by proper sheathing, helping homeowners proactively address damage before it spreads.
By knowing where leaks commonly occur, such as around penetrations or along improperly installed panels, you can strengthen the benefits of upgraded thickness and material quality. Moreover, understanding leak detection ties directly into preserving structural integrity.
Thicker panels resist moisture intrusion and provide better nail holding, but without timely leak identification, even the best-installed sheathing can degrade. Pairing sheathing upgrades with simple methods like moisture observation and attic inspections offers an approach to extending roof lifespan.